I received the Rio Beauty Shimmer and Sparkle Nail Art Kit in my Goody Bag at the #ShropshireBloggersMeet and it’s taken me this long to get a chance to sit down and try it out properly. I’ve already featured another of Rio Beauty’s Nail Art Kits here if you fancy reading that one too. They’re such lovely kits and ideal for beginners too.
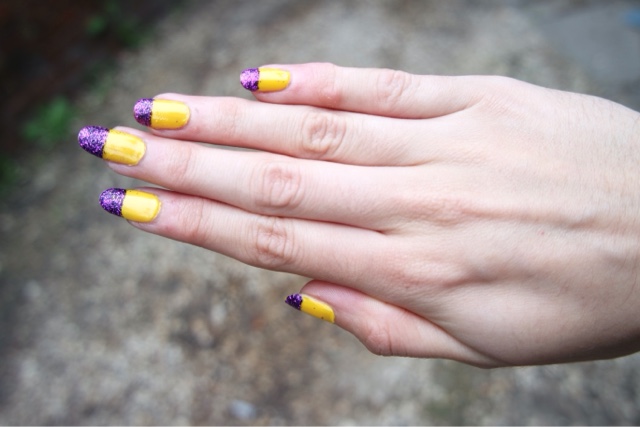
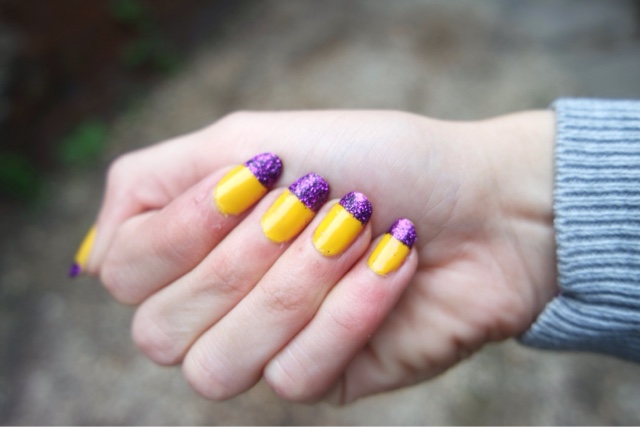
Once the yellow had dried thoroughly I applied stripping tape to each nail, just under where the whites would be. I used stripping tape (supplied in the kit) so I could ensure a neat even finish. I then added the glitter one nail at a time. This was done by applying a clear coat of polish above the stripping tape then dipping the nail into glitter. I tried shaking the glitter onto the nail but found dipping it into glitter to be much more effective and it provided a better coverage too.
I left the glitter to stick to the clear polish and dry for 30 minutes before removing the excess glitter with a damp cotton pad. The excess glitter should be relatively easy to get off providing you’ve only put the clear coat above the stripping tape. Once you’ve removed the excess glitter peel off the stripping tape with a pair of tweezers and you will be left with a neat, straight line (hopefully). Finish with two coats of clear polish to protect the nail and stop the glitter flaking off.
Although this look took much longer than I’d anticipated. I think I must have been ‘at these’ for over an hour. I am SOOO impressed with the finished look and I’m looking forward to trying it again with different colours.
Have you tried a look like this before? Have you tried any of Rio Beauty’s products?
Until next time,

Chloe Thresher says
This nail art design is actually really pretty, although yellow isn't really my colour. Your nails are a really lovely shape too. Glitter is really difficult to apply how you want, but once it is done it looks so pretty! The only problem is getting it off afterwards, good luck with that, haha
Chloe | http://www.chloepaigee.blogspot.co.uk